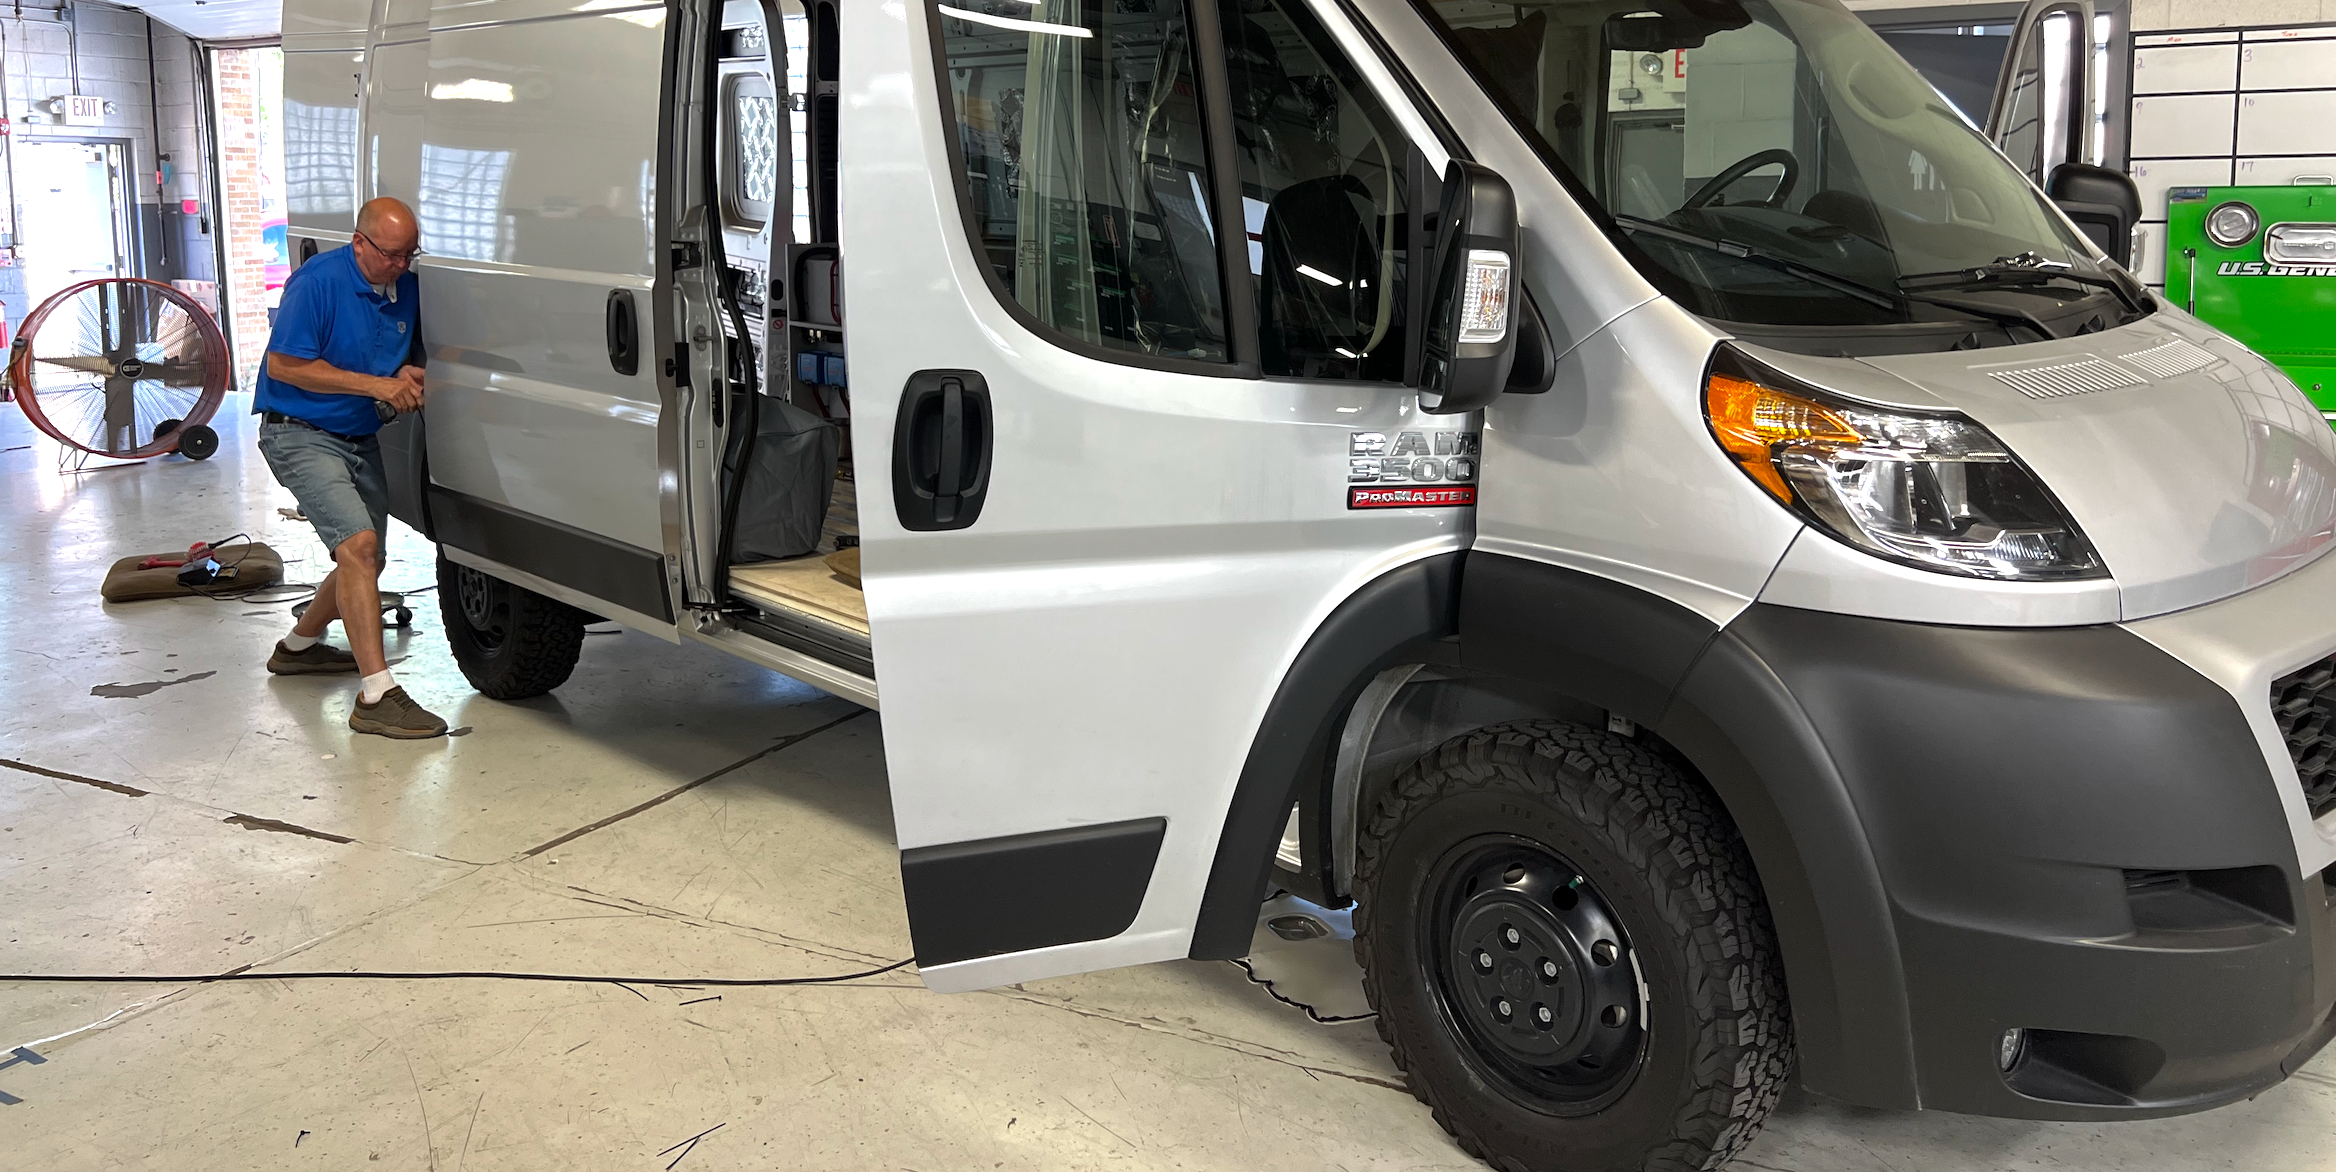
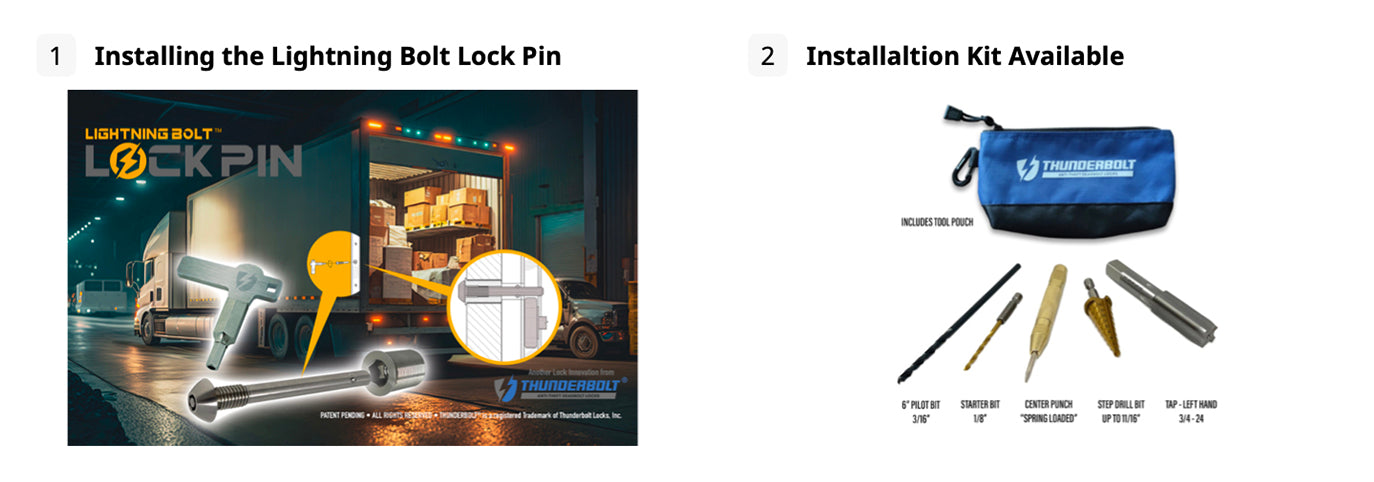
Installing Thunderbolts
Installation Process
The installation process is straightforward. The deadbolt is installed inside the door and strikes into the opposing door or pillar, preventing the door from opening. For a detailed overview, our general installation video provides excellent guidance.
Remote Control Operation
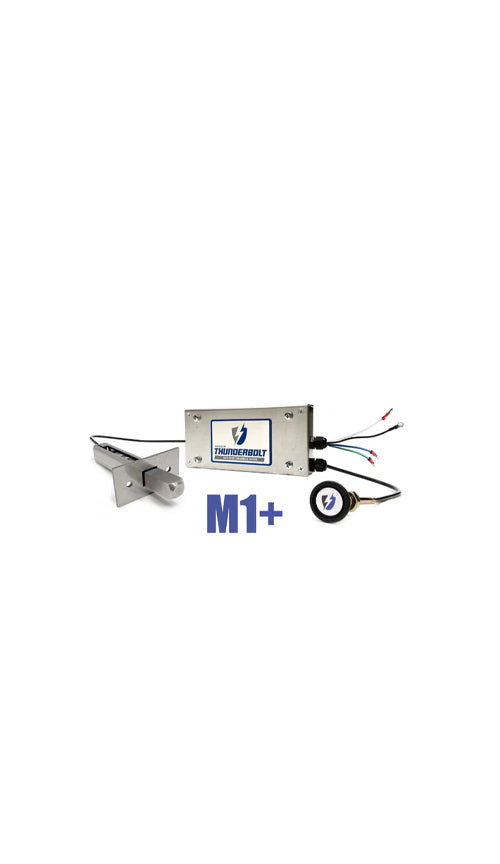
Thunderbolt locks can operate from the van's factory key fob by using M1 locks and connecting them to the existing lock motor wires inside the door or independently from a Thunderbolt key fob by using the M2 locks and connecting to 12v power.
Lock Kits
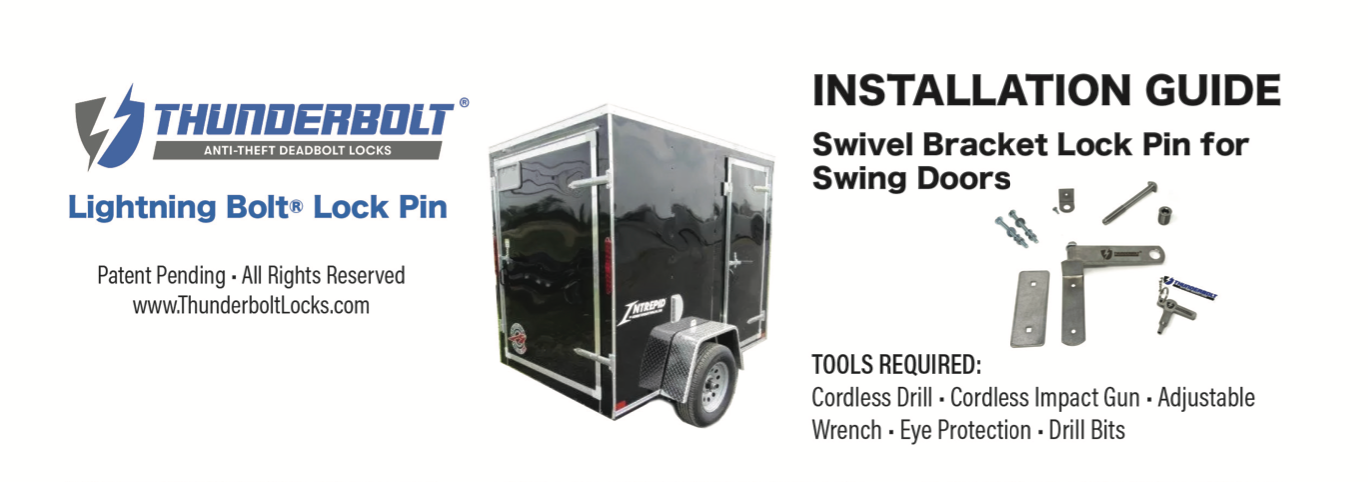
Thunderbolts are versatile and can be used on any door type, including side sliding doors, rear swing doors, and cab doors. They are also effective for box truck overhead doors, utility truck compartments, and cargo trailer doors.


General Installation Video
This video shows the general installation process. Keep in mind, every van is different, but the process is similar.
Various Installation Videos
These videos are meant to provide an overview of installation suggestions.

Posi-tap Connector Video

Lightning Bolt Box Truck Video
Instructions


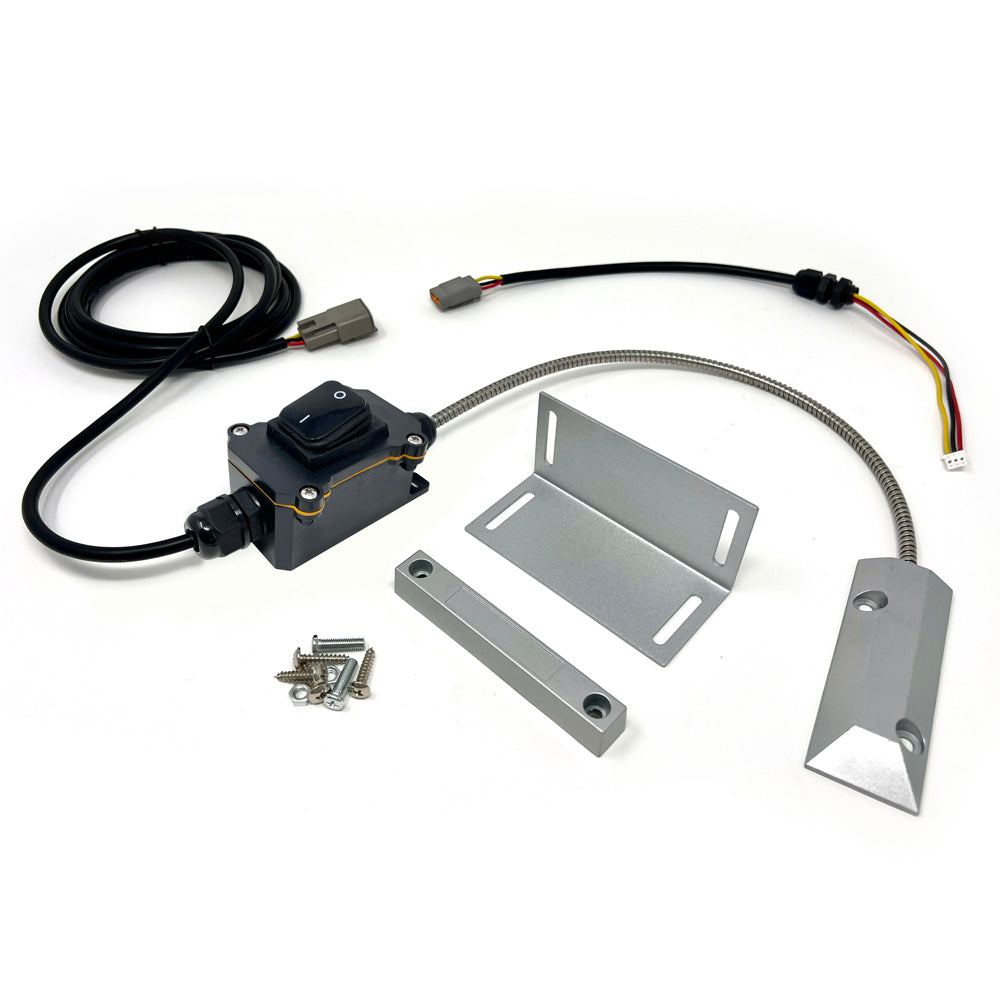
Box Truck Auto-Lock Switch
Instructions on installing the Auto-lock accessory on an overhead door.
Instructions for Locating and Connecting Wires for M1+ Lock Installation
1. Locate Wires in Door Latch Assembly: Begin by finding the latch assembly in the door. Follow the wiring from the latch and carefully open the loom, as you have already started.
2. Test Factory Motor Wires: Use a digital multimeter or a 12-volt test light to identify the correct motor wires:
- Set the multimeter to DC voltage.
- Ground the black meter lead to a reliable ground source.
- Ensure all doors are closed or latched.
- Probe each wire individually while pressing the remote lock/unlock button or using the door lock switch.
3. Connecting Wires:
Blue and Green Wires: Connect these to the motor wires you identified.
White and Black Wires:
• Connect the Black wire to a bare metal ground, either on the door or to a known ground wire.
•Connect the White wire to a 12-volt ignition source, often located at the power window switch. This wire powers the windows and ensures they work.
• Alternatively, you may route the White and Black wires through the door boot into the cab area and connect:
-White wire to the ignition switch or fuse box.
- Black wire to a good metal dash frame.
4. Note on Safety and Function: While the M1+ lock will operate with just the Blue and Green wires connected, the White and Black connections add a safety feature. When connected correctly, the White and Black wires prevent the lock function from operating while the vehicle is running, ensuring safety if occupied.
Customer Support
Have questions? We encourage you to look over the information pertaining to your specific vehicle under APPLICATIONS menu or visit the TROUBLE SHOOTING. If you are unable to find the answer feel free to reach out via email or phone. Our goal is for your installation to go smoothly.
info@thunderboltlocks.com
(765) 652-6587